
Our goal here is not to teach fixed rules for taking pictures, but to share what we have learned from our own experiments.
First of all, choose the right place to set up your equipment. Enough natural light and a steady table will help you take good photos. Set the camera on a tripod or enlarger stand and make sure it is firmly attached. Try to position it at a comfortable working height to avoid needing a chiropractor later... Artificial light can also be useful with digital cameras, helping the autofocus work when natural light is low.
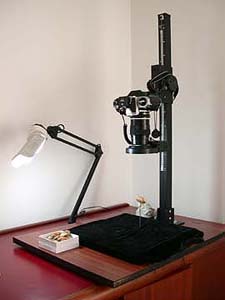
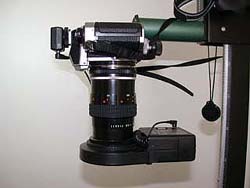
A ring flash is usually the easiest way to obtain quick, uniform lighting. Another useful trick is to use a piece of white paper or aluminum foil to reflect natural light and reduce shadows. Just be careful not to reflect the light directly into the lens, or the autofocus may have trouble working.
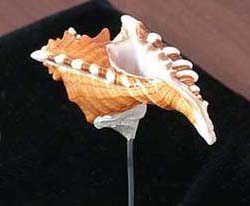
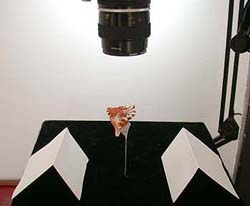
Make a small support to elevate the shell from the background, using metal wire or a similar material. This will blur the background and reduce the shadow. Fix the wire into a piece of wood so that it is steady enough to hold heavier shells, and use a small amount of putty to hold the shell on top.
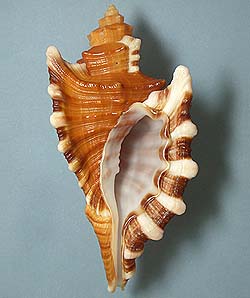
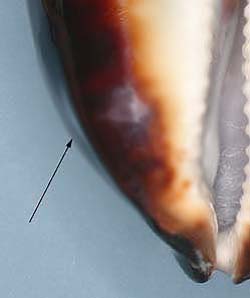
One of the most common mistakes is placing the shell directly on the background, creating a hard shadow. If that background remains in the picture, the final result can look poor. Many people suggest using a background in a completely different color from the shell. In the example above we used blue behind a Cypraea. Shiny shells, however, can reflect the background, and that reflection may be difficult to remove even digitally. A dark black velvet background often works well. For darker shells, white paper can be useful, with the background cleaned up later in a photo editor.
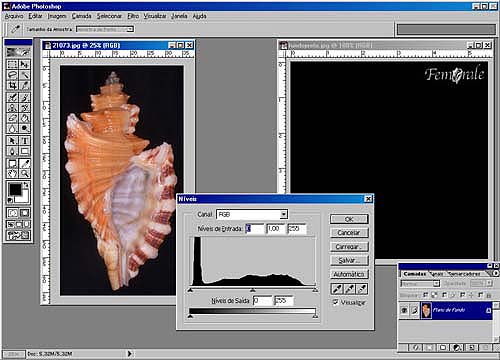
If you are sending a picture only to a friend, there may be very little editing to do. If you intend to use it on a website or in print, however, a good photo editor is useful. We use Photoshop®, but many other programs can do the job. You may need to clean the area around the shell, adjust its size and position, or make small corrections to levels and colors.
The less correction you need, the better. Even if you can turn a poor picture into a reasonable one, it is much faster to make the original photograph as good as possible. This is particularly important when photographing hundreds of shells. Colors will also vary from one computer and monitor to another, so perfect consistency on every screen is impossible.
A few more tips for digital photography
Use a sufficiently high resolution when taking the original photograph, especially if you want to preserve good master files or print them later. Large files require more storage and processing power, but modern computers make this much less of a problem than when this page was first written.
Create a consistent background for your photographs and save your files with names that are easy to identify. We use our specimen ID numbers, which makes finding the originals much easier. For your own collection, you might use the shell name or your catalogue number.
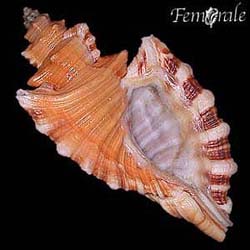
Start with a simple black background. As you become more comfortable with your photo editor, experiment with other colors and techniques. If the original photograph is too dark or simply poor, take another one. Digital photography gives you that luxury at virtually no extra cost.
Most importantly, learn the basic tools in your photo editor and experiment. You can get excellent results — and have a lot of fun doing it.
English revised by Lynn Scheu